 |
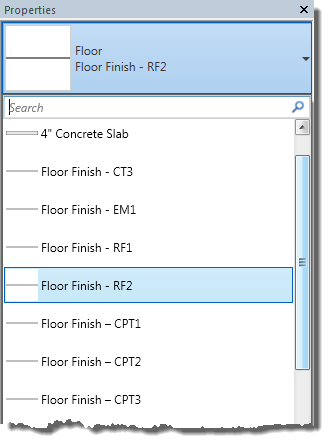
| Type Selector showing several floor finish elements |
This post follows up on a previous post, where using the technique discussed in this post incorrectly can cause issues. Read about that here: How Did the Interior Designer make MEP Spaces Disappear?
The concept is pretty simple, but here are a few things...
to consider:
- Use a common prefix such as: Finish Floor – RF2, Finish Floor – CT1
o This will group them in the Type Selector,
separating them from the structural floors
- Apply a View Filter to other views
o Hide the floor in the architectural and code plans, elevations, etc.
o Leverage the common prefix element name
- Remember to offset the finish floor up after placing each instance
o It should be moved up the same as the thickness of the finish floor
o For simplicity, consider making all the finish floors a consistent
thickness, such as 1/8” (25.4mm)
- Uncheck Room Bounding
o We don’t want these floors affecting the size of the Room element, which in
turn can cause problems in the MEP model with Spaces
o Unfortunately, this has to be unchecked for each element as it is an Instance
Parameter that cannot be pre-set
o Doing this will also avoid issues with Revit's energy modeling workflow
- Modify door families if needed
o In some door families, the 2D swing lines may be hidden by the floor finish element.
o In the door family, these lines can be moved up to a higher reference plane, so they
are above the floor finish
- Floor finish schedule filtered by floor name prefix
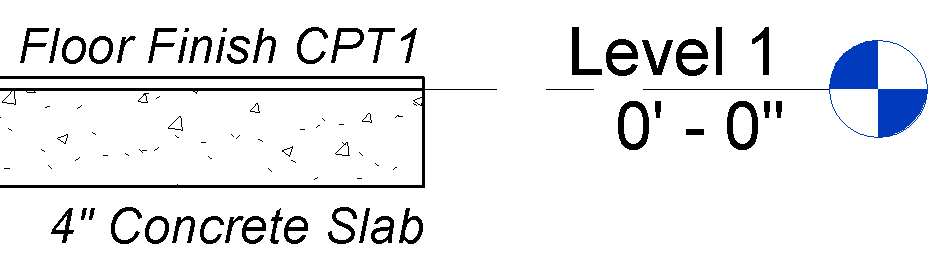 |
| Separate “thin” floor over 101.6mm structural floor element |
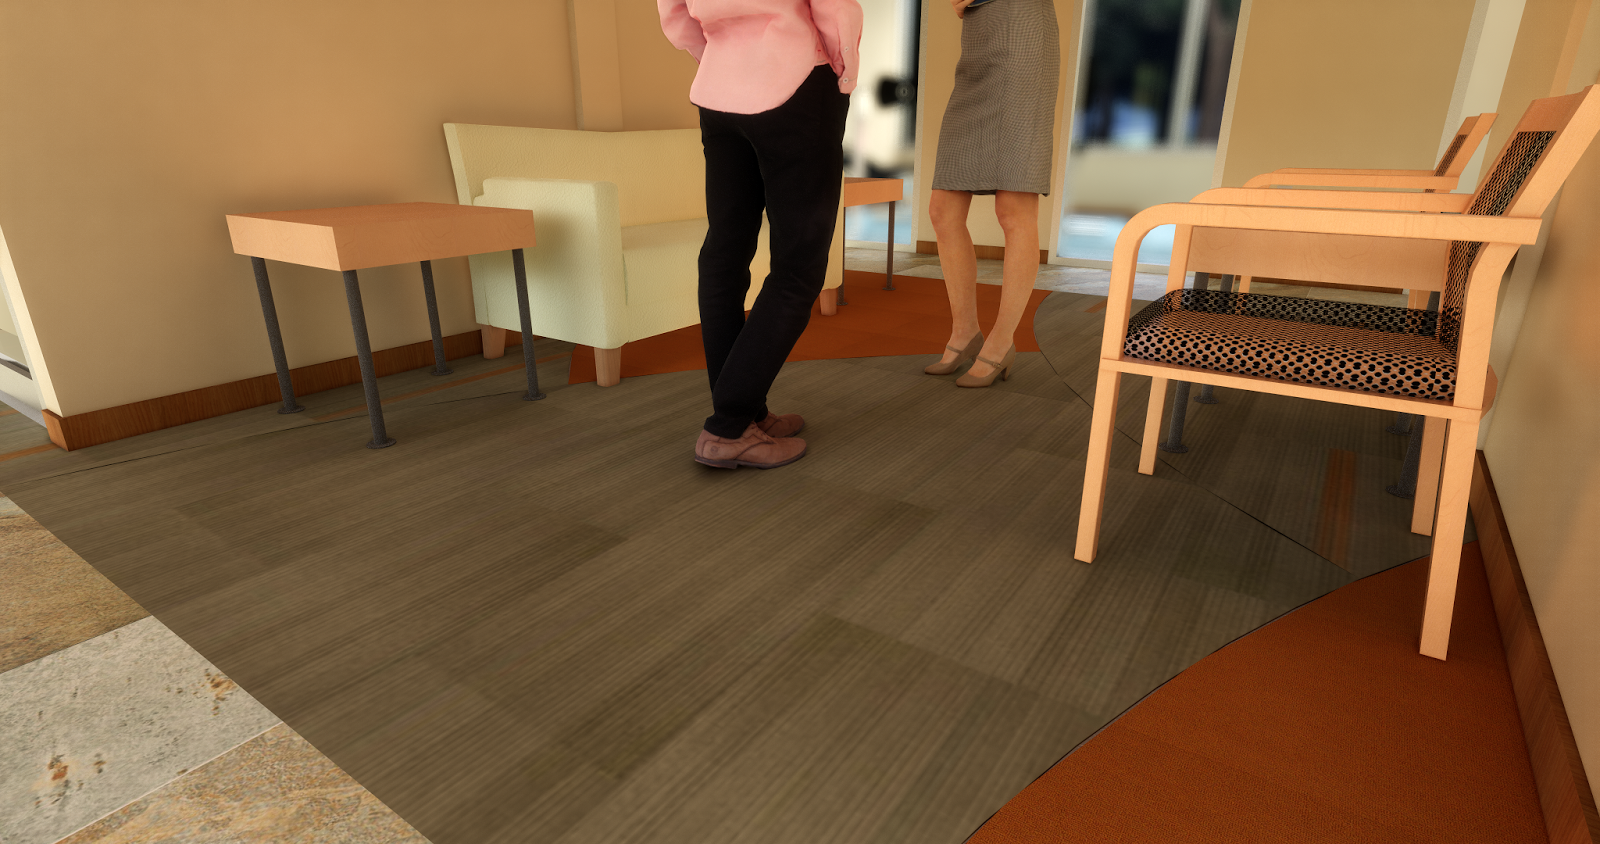
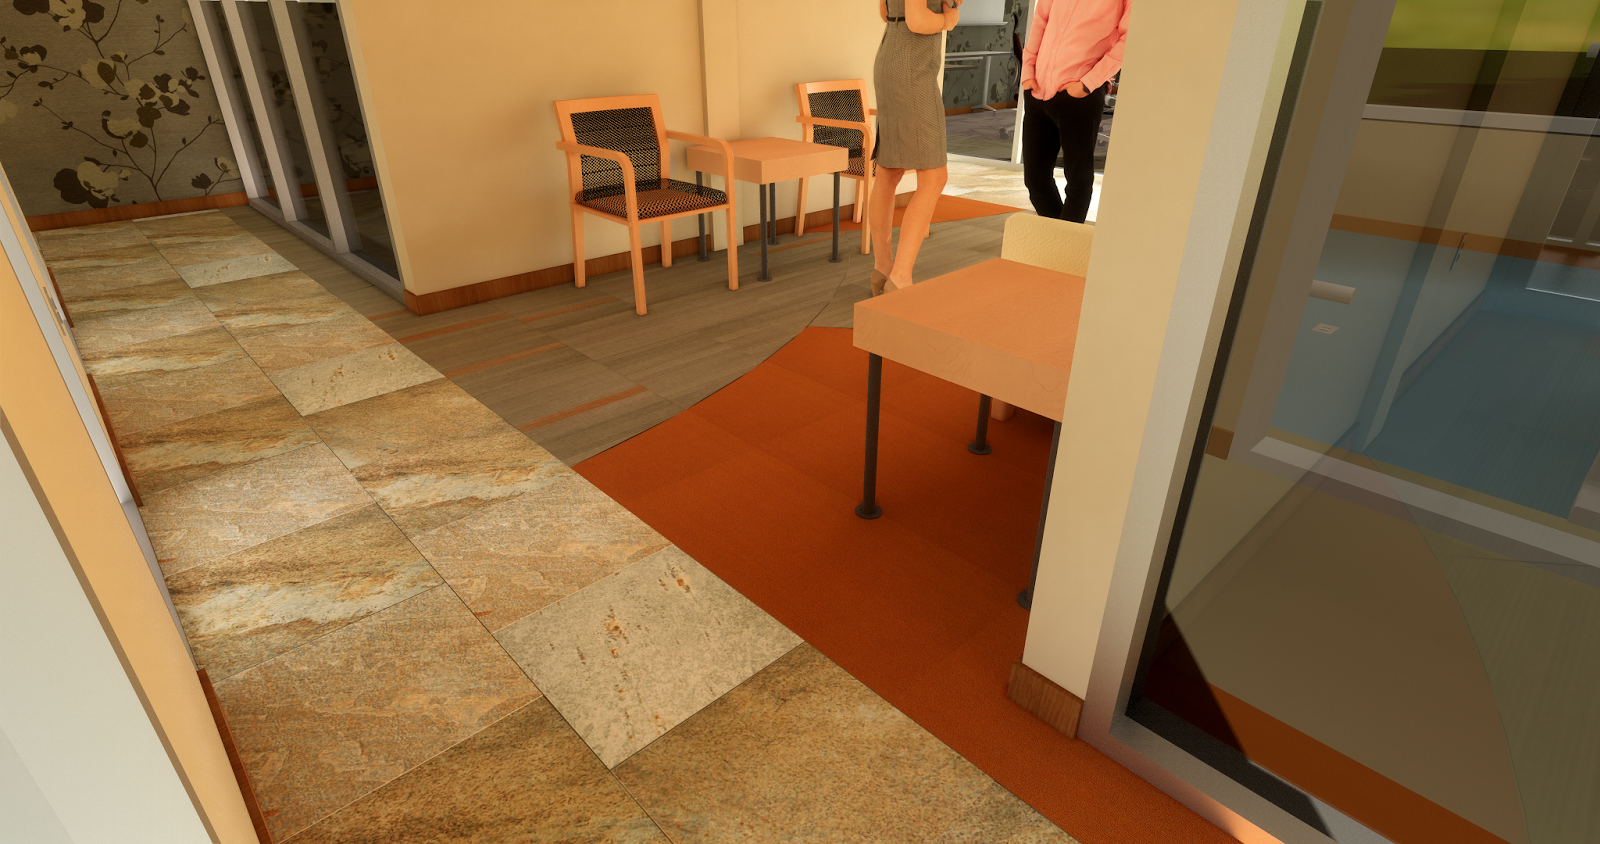
My book, Interior Design Using Autodesk Revit 2018 covers this technique and the following images are based on the model created by the reader working though it. These images were created using Enscape.