
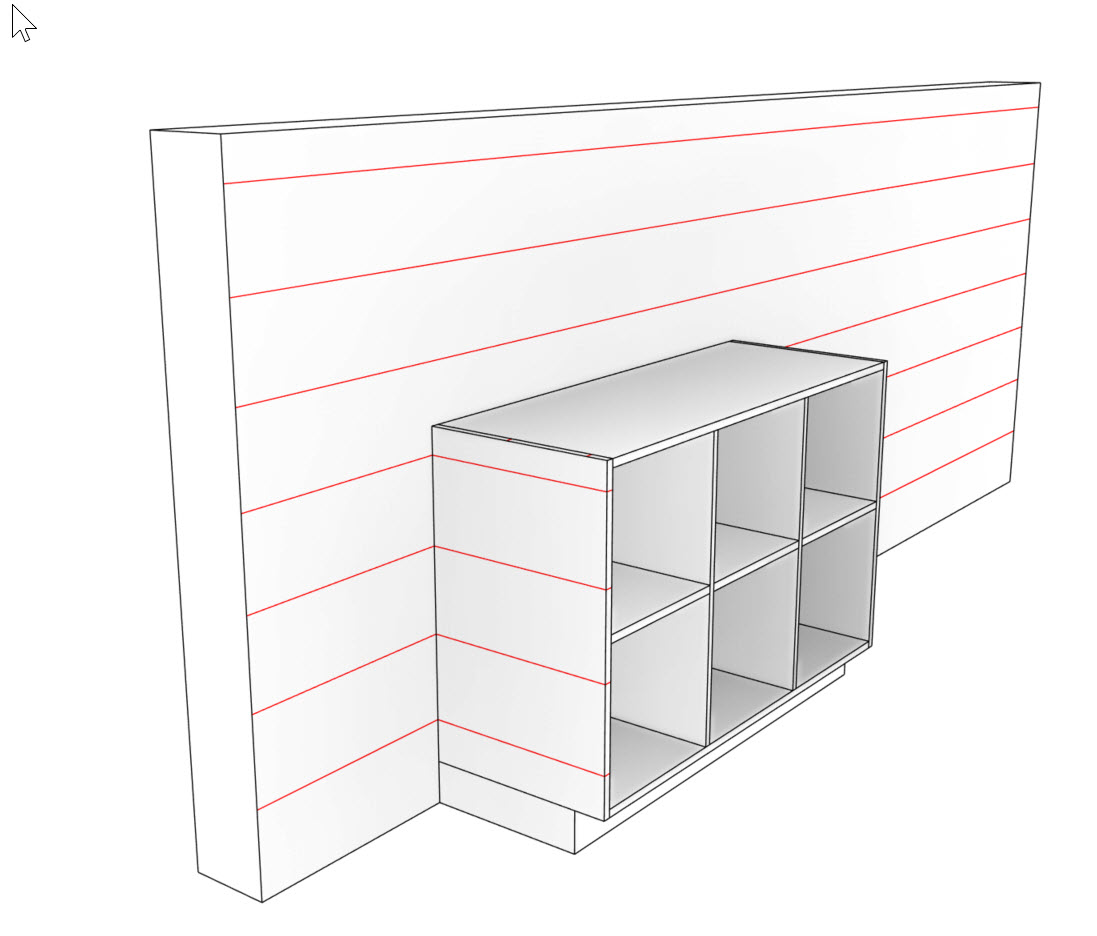
If we apply a Model-based pattern, either directly to the geometry or using the Paint tool, it can be re-positioned within the family, but not in the project environment. This first image shows 8" horizontal red lines added in the family.

In the image below the family is positioned next to a wall with the same model-based pattern. By default everything lines up. But, notice the end of the wall does not have the horizontal files. This is a second challenge we will address...
We can make the material wrap the wall end in the wall's type properties or by using the Paint tool. The type properties option gets trickier with the wall has a different material on each side.

No matter how you apply a model-based material to the end of a wall, it cannot be re-positioned. When you try, Revit presents the error message shown below.

There is a hack that will allow the material on the end of the wall to be re-positioned; use the Split Face tool and sketch a really small line as in the example below.

In this example, the main wall pattern was moved down 4". To make the family match, I had to open the family and adjust it there. But, of course, this adjusts it for all instances of this family.
One last thing... the fill pattern on the wall always starts, by default, relative to the level the element is associated with. The same is true in the family, but when loaded into a project its position becomes static.